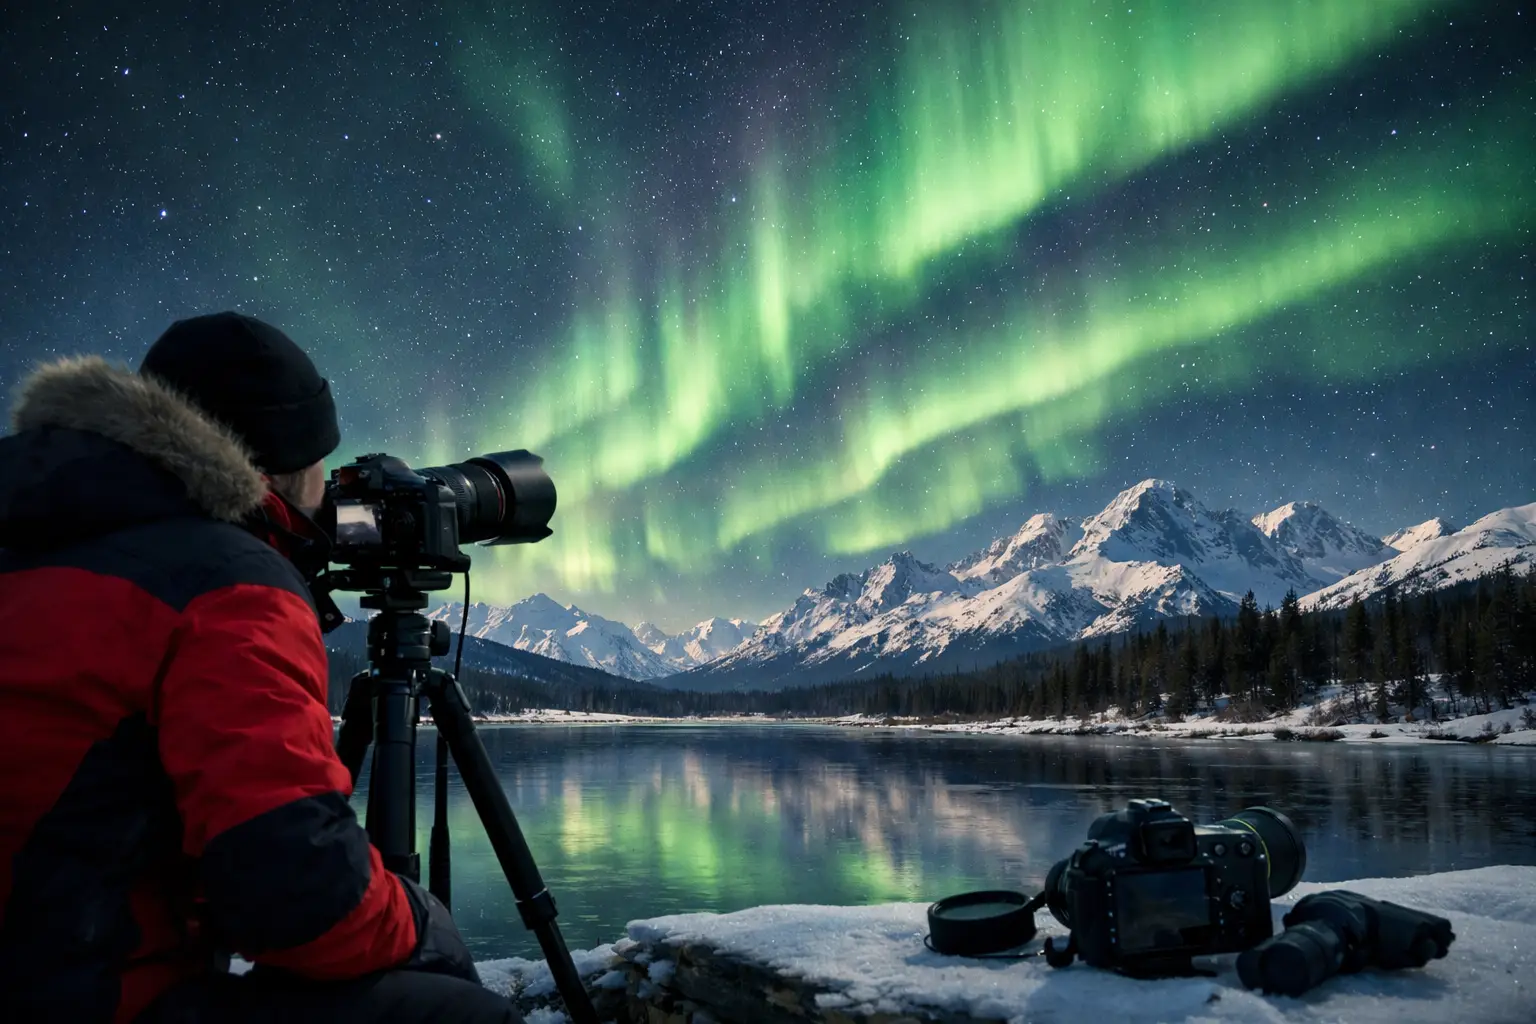
A strong aurora photograph in Alaska is rarely the result of one dramatic camera setting. It comes from being outside at the right moment, with a clear northern horizon, a focused lens, stable support, and enough awareness to adjust as the sky changes. This Alaska aurora photography guide is built for that reality: the lights may begin as a faint arc, then brighten into moving curtains before fading again minutes later.
Alaska offers real advantages for photographers. Interior winter nights are long, dark, and often dry, particularly around Fairbanks. But cold batteries, icy roads, changing cloud cover, and the distance between services can turn a promising forecast into a missed opportunity. Plan for both the photograph and the night outside.
Start With Conditions, Not the KP Index
The KP Index describes global geomagnetic activity, but it does not tell you whether your exact Alaska location has clear skies, a useful viewing window, or a bright enough display for the image you want. A moderate aurora under clear skies can produce far better photographs than a high KP night hidden behind clouds.
Before leaving your hotel or cabin, check the complete picture: solar wind conditions, IMF Bz, local cloud cover, weather, moon phase, and darkness. IMF Bz is especially useful in plain terms: when it stays negative, it can help energy from the solar wind couple more effectively with Earth’s magnetic field. It is not a guarantee, but it is more meaningful than watching KP alone.
AuroraVision brings these moving pieces together in a Live Aurora Score, with current solar wind, IMF Bz, cloud, moon, and weather data in one place. Use the free app to check the Best Time Tonight and activate alerts rather than committing to an all-night drive based on a single forecast number. Conditions can improve quickly, and they can also collapse under a cloud deck just as fast.
Alaska timing and location trade-offs
Fairbanks and the surrounding Interior are popular because they sit beneath the auroral oval more often than southern Alaska. In practical terms, that means you can photograph the aurora lower in the sky and still see a meaningful display. Areas north of Fairbanks may offer darker horizons, but require more winter driving skill and more self-sufficiency.
Anchorage is easier to reach and has more services, yet city light, coastal weather, and mountains can limit the view. You may need to drive outside the city for a wider northern horizon. Denali-area lodging can provide dark skies and compelling foregrounds, but access, road conditions, and seasonal closures matter more there than a beautiful pin on a map.
A guided Northern Lights tour is often the sensible choice for first-time winter visitors. Experienced guides know the local cloud patterns, safe pullouts, and roads that remain practical after dark. Independent photographers gain more control over composition and timing, but should rent a suitable vehicle, understand the rental agreement for winter travel, and avoid stopping on narrow or unplowed roads.
Build a Camera Setup That Can React Fast
You do not need the most expensive camera to make memorable images. A camera with manual exposure control, a fast wide-angle lens, and a tripod matters more than an elaborate kit. Full-frame cameras provide an advantage in low light, but modern APS-C and Micro Four Thirds bodies can produce excellent files when exposure and focus are right.
Choose a wide lens between roughly 14mm and 24mm full-frame equivalent, ideally with an aperture of f/1.4 to f/2.8. A wider aperture gathers more light, allowing shorter shutter speeds when the aurora is moving. That preserves structure in fast rays and corona displays instead of turning them into a soft green wash.
Bring at least two fully charged batteries and keep spares in an inner pocket. Extreme cold reduces usable battery life. A sturdy tripod, remote release or self-timer, microfiber cloth, headlamp with a red-light mode, lens hood, and insulated gloves all earn their place. Avoid touching the front element with bare fingers, and let your camera acclimate gradually when moving between a warm vehicle and severe cold to reduce condensation.
A reliable starting exposure
Set your camera to manual mode and begin with a RAW file. RAW gives you more flexibility with white balance, highlights, and shadow recovery than a JPEG. Turn off automatic flash, and disable image stabilization when the camera is firmly mounted on a tripod.
For a moderately bright, slow-moving aurora, start around f/1.8 to f/2.8, ISO 1600 to 3200, and 2 to 5 seconds. Review the image and histogram, then adjust based on the actual sky. If the lights are faint, lengthen the shutter time or raise ISO. If the display begins to dance, shorten the shutter to roughly 0.5 to 2 seconds and raise ISO as needed.
There is no single “best” aurora exposure. A 10-second frame can work beautifully for a quiet arc, while the same setting will blur a fast curtain into green fog. Protect highlights when the aurora brightens, particularly near the horizon where light pollution may add an orange glow.
Set white balance manually, often around 3,500K to 4,000K, so your previews do not swing wildly between frames. You can refine color later, but a consistent preview helps you judge exposure in the field. Do not chase an unnaturally saturated green. The best edit usually preserves the contrast between the aurora, the blue-black sky, stars, snow, and foreground light.
Focus Before the Show Begins
Autofocus often fails in darkness, and focusing on the aurora itself is unreliable. Arrive while there is still a visible distant light, moonlit ridge, or bright star available for focusing. Use magnified live view, manually focus until the star becomes as small and sharp as possible, then leave the lens in manual focus.
Check focus again after changing lenses, bumping the tripod, or exposing the camera to a major temperature shift. Tape the focus ring only after confirming it is sharp. Many ruined aurora sequences look acceptable on a small rear screen but reveal soft stars and blurred trees once viewed at full size.
If your foreground is close, such as a cabin, person, or ice formation, you have a choice. Focus on infinity for sharp stars and accept a softer nearby object, or take a separate foreground frame focused closer. Blending exposures later is reasonable when it reflects the scene honestly, but keep the horizon and aurora geometry natural.
Compose for a Photograph, Not Just Proof
The aurora is spectacular on its own, but a photograph gains scale when it includes a deliberate foreground. Look for a frozen lake, spruce trees, a distant mountain profile, a simple road curve, or a small cabin with controlled light. Avoid cluttered parking lots, bright signs, and random headlights that pull attention from the sky.
Give the display room to move. A low arc may benefit from a horizontal composition with landscape beneath it. A vertical frame works when tall curtains rise overhead. When the aurora reaches toward the zenith, a very wide lens can create an immersive result, but watch for distorted trees at the edges.
Once your main composition is set, make a short sequence rather than a single frame. The shape and brightness can change between exposures. Include a few frames with different shutter speeds, then stop checking every image and watch the sky. Some of the best moments arrive during the transition from a quiet band to visible motion.
Work Safely Through an Alaska Winter Night
Photography concentration makes it easy to underestimate cold. Wear insulating layers, warm boots rated for stationary winter use, a windproof outer shell, hat, and gloves that let you operate controls. Hand warmers help, but they do not replace proper footwear and dry layers.
Tell someone where you are going, carry water and snacks, keep your fuel level high, and bring a charged phone plus a backup power source. In remote areas, do not rely on cell coverage. If clouds thicken or roads deteriorate, moving to a safer location is a better decision than waiting for a forecast to improve.
Respect private property and keep light pollution low around other viewers. Use red light for setup, dim your screens, and avoid sweeping a white headlamp across other photographers’ exposures. Alaska’s dark nights are a shared resource.
The next time the forecast looks promising, prepare your camera before sunset, choose one safe location with a clear view, and let live conditions guide the decision. When the sky begins to change, you will be ready to photograph the moment instead of building your setup beneath it.