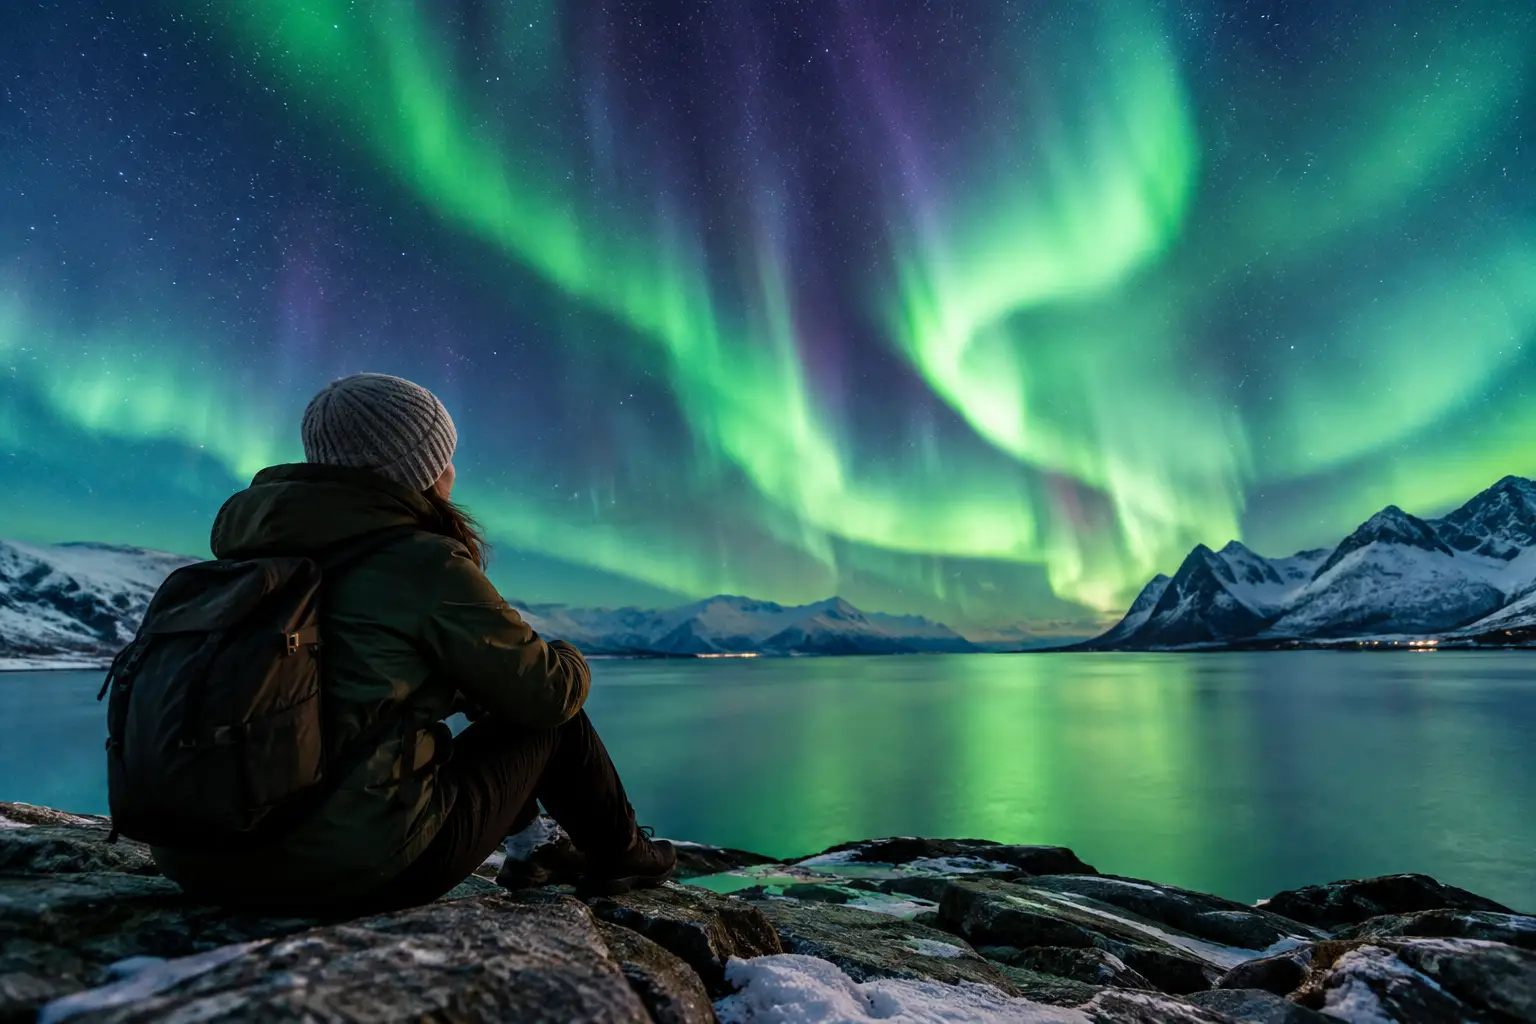
The lights were active, the forecast looked promising, and yet you saw nothing. That frustrating gap usually comes down to a handful of avoidable aurora viewing mistakes - not bad luck. Northern Lights hunting is a live decision-making exercise: conditions above Earth, clouds below them, moonlight, location, and timing all have to line up.
A strong trip plan gives you more than a pretty place to stand. It gives you options, current information, and enough patience to act when the window opens. Here are the mistakes most likely to cost you a night under the aurora.
Aurora Viewing Mistakes to Avoid Before You Go
1. Treating the KP Index as the whole forecast
KP is useful, but it is not a yes-or-no aurora switch. It describes global geomagnetic activity over a three-hour period, and it does not tell you whether clouds are covering your exact location, whether the solar wind is arriving now, or how bright the display may look from where you stand.
A moderate KP can produce a memorable show in Iceland, northern Norway, or Finnish Lapland when other conditions are favorable. A high KP can be worthless under thick cloud. Read KP as one piece of context, then check the broader picture: solar wind speed, density, IMF Bz, cloud cover, weather, moon phase, and local darkness.
2. Checking a forecast once, then committing to it
Aurora conditions change quickly. A forecast from breakfast may be outdated by sunset, while a short-lived southward turn in IMF Bz can improve the odds later in the evening. Clouds can also break apart faster than a standard weather app suggests.
Check conditions again before leaving your accommodation, then keep monitoring them while you are out. AuroraVision combines a Live Aurora Score with real-time solar wind, IMF Bz, cloud cover, weather, moon phase, and timing data so you can make decisions based on what is happening rather than what looked likely hours ago.
3. Booking only one night for aurora viewing
One clear night can be enough, but building a trip around a single chance creates unnecessary pressure. Weather is the largest obstacle for many visitors, especially in coastal Iceland, the Faroe Islands, and northern Norway. A quiet space-weather night may still offer a faint display, but heavy cloud leaves no viewing opportunity at all.
If you can, allow at least three nights in an aurora region. More nights mean more chances for a clear patch, an active interval, and enough energy to stay out when the best conditions arrive. Flexible lodging and a cancellable tour can be more valuable than chasing the highest forecast number.
4. Staying in the city because the forecast is good
City lights do not prevent the aurora from happening, but they make faint displays harder to notice and reduce the contrast that makes a sky look dramatic. This is especially relevant when activity is low to moderate. What looks like a pale haze from downtown can show structure and movement from a dark roadside viewpoint.
You do not always need to drive for hours. Often, 20 to 40 minutes beyond the brightest urban lights is enough. Choose a legal, safe pullout or a known viewing area with an open northern horizon. Never stop in a travel lane, block private driveways, or walk onto unsafe ice or shorelines for a better foreground.
5. Driving toward clear sky without checking road conditions
Clear skies are tempting, but they are not the only travel condition that matters. Winter roads in Iceland, Alaska, northern Canada, Greenland, and Arctic Scandinavia can change rapidly with wind, drifting snow, ice, and poor visibility. The best cloud map is not a reason to take risks in a rental car.
Set a realistic travel radius before nightfall. If roads are difficult, use a local guided tour or stay near a safe dark location rather than attempting a long chase. Independent travelers should understand local winter-driving rules, carry warm layers, keep fuel well above empty, and tell someone where they plan to go.
6. Arriving after the best viewing window
The aurora can appear at any dark hour, but it often comes in bursts rather than holding one steady level all night. Waiting until midnight to begin checking because you heard that is the “best time” can mean missing an earlier active interval. In some places, the most useful time is simply when darkness, clearing skies, and solar conditions overlap.
Start watching as soon as it is truly dark and conditions are favorable. If the forecast identifies a best time tonight, treat it as a priority window, not a guarantee. Be ready before it begins: park, dress, set up your camera, and give your eyes time to adjust.
Mistakes That Make the Aurora Harder to See
7. Looking only toward the north
In high-latitude destinations, the aurora may form directly overhead or stretch across much of the sky. During stronger activity, it can appear south of you as well. Visitors who stare at one fixed horizon can miss the most interesting shapes developing above or behind them.
Scan the full sky regularly. Look for a faint gray-green arc, a low band with a scalloped edge, or a cloud-like streak that does not move with the wind. The first stage may be subtle to the naked eye, then brighten suddenly into visible curtains and rays.
8. Expecting every display to look neon green
Cameras collect light over several seconds, so photos often show more color than your eyes see in real time. A weak aurora may look pale green, silvery gray, or almost white to the human eye. As brightness increases, green becomes clearer, while pink and red can emerge during stronger or higher-altitude activity.
Do not dismiss a faint arc because it does not look like a postcard. Watch it for several minutes. If it slowly changes shape, develops vertical texture, or brightens along one edge, you may be seeing the beginning of a much better show.
9. Ruining your night vision with bright screens
Your eyes need time to become sensitive to low light. A bright phone screen, car interior light, or flashlight can undo that adjustment in seconds. This matters most when the aurora is faint or moonlight is already reducing contrast.
Dim your screen to the lowest comfortable level and use a red-light setting if available. Keep car doors closed when possible so interior lights do not spill across the viewing area. Give your eyes 15 to 20 minutes away from bright light before deciding the sky is empty.
10. Dressing for the temperature instead of the wait
Aurora viewing involves long periods of standing still. A temperature that feels manageable during a daytime walk can become uncomfortable quickly after an hour outside in wind. Once you are cold, you will rush decisions, return to the car too early, or miss the burst that arrives just after you give up.
Use layered clothing, insulated boots, warm socks, gloves that let you operate camera controls, and a windproof outer layer. Bring a hot drink and an extra hand warmer if conditions are severe. Comfort is not a luxury on an aurora night - it is part of your viewing strategy.
11. Setting up the camera only after the lights arrive
A bright explosion can last only a few minutes. If your tripod is still in the trunk and your camera battery is cold, those minutes disappear fast. Prepare at your lodging or before you reach the viewing location.
Use a sturdy tripod, a wide lens, and manual focus set on a distant light or bright star. Start with a moderately wide aperture, a high ISO, and a shutter speed that suits the aurora's movement. Faster-moving curtains need shorter exposures than a quiet arc. Check your first image, then adjust rather than relying on one preset all night.
12. Leaving after the first quiet spell
This may be the costliest of all aurora viewing mistakes. Displays often fade, regroup, and return. A calm-looking sky at 9:30 p.m. does not prove the night is over, especially when clouds are clear and real-time solar conditions remain supportive.
Decide in advance how long you can comfortably wait, then reassess using current data instead of frustration. If the score drops and cloud thickens, returning to warmth may be sensible. If skies are open and conditions are improving, give the night more time.
The most rewarding aurora travelers are not the ones who chase every dramatic forecast. They are the ones who stay flexible, protect their safety, watch the whole sky, and remain ready when a quiet Arctic night suddenly comes alive.