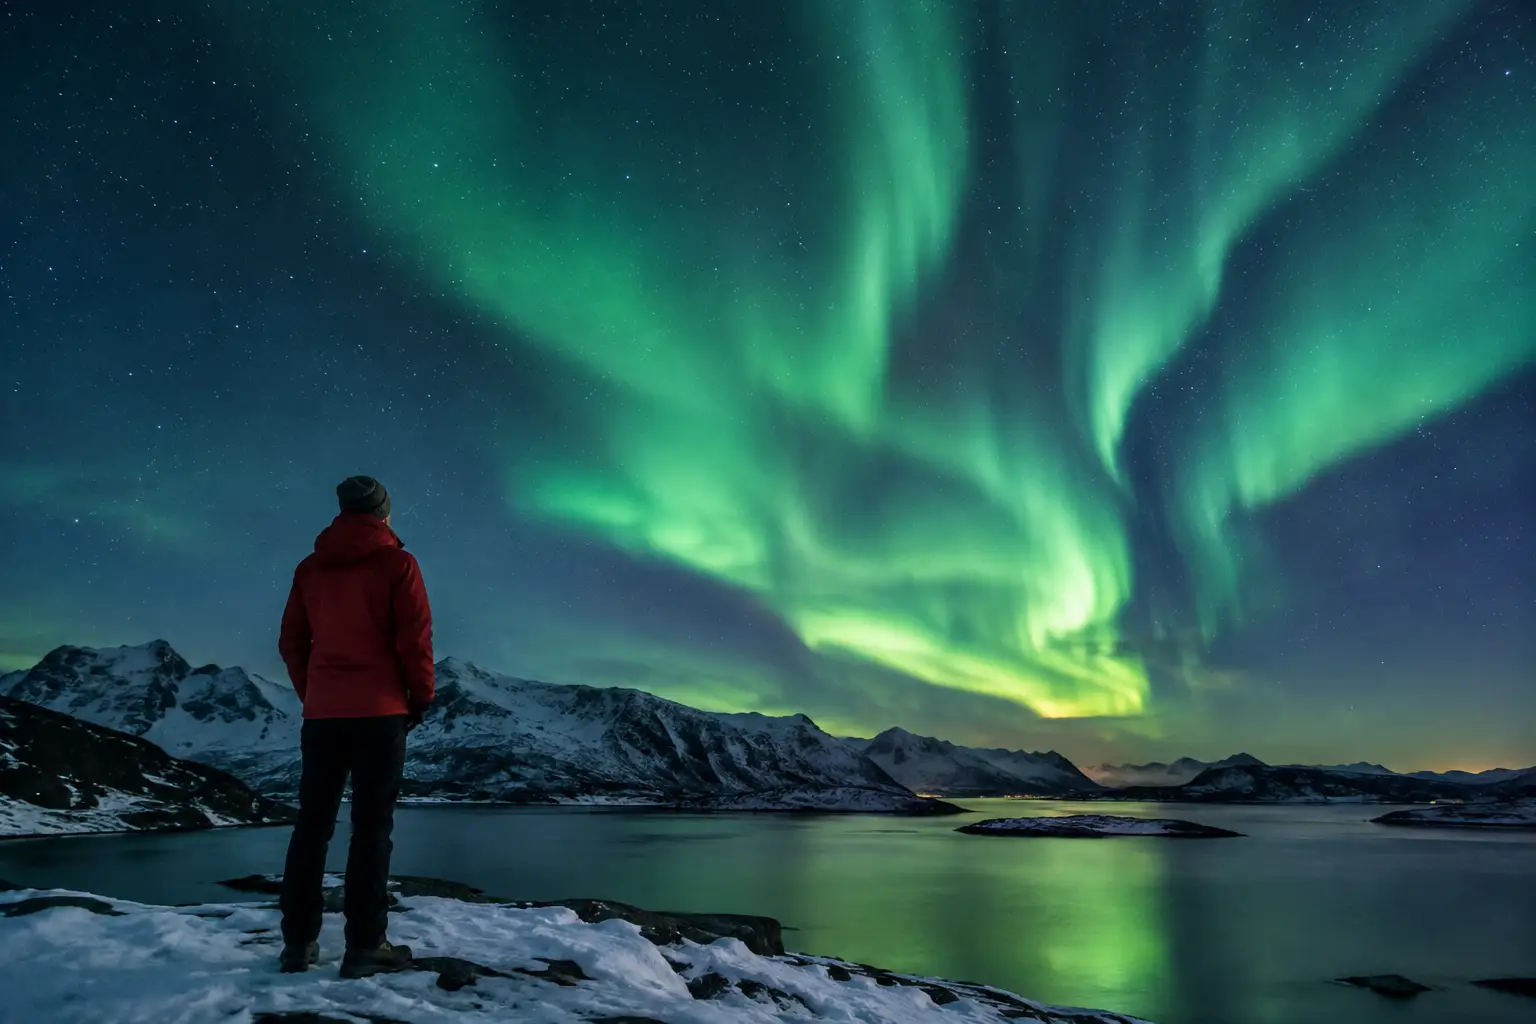
A strong aurora forecast can be completely hidden by a single low cloud layer. That is why learning how to find clear skies is often more valuable than chasing the highest KP Index. If the sky above you is overcast, even an active display will stay invisible. If a break opens 30 minutes away, a modest aurora can become the highlight of your trip.
Clear-sky hunting is a practical skill: read the cloud forecast, compare nearby areas, watch how the weather is moving, and keep your travel decisions safe. The goal is not to find a perfect blue patch on a map. It is to put yourself under enough open sky, at the right time, with a realistic route home.
How to find clear skies: start with the cloud layer
Not all cloud cover affects aurora viewing in the same way. A forecast that says 60% cloud cover can mean scattered puffy clouds with wide open gaps, or it can mean an unbroken sheet that blocks nearly everything. Before you decide whether to drive, look for the type, height, and movement of the cloud.
Low clouds are usually the biggest problem. Fog, coastal stratus, snow showers, and low gray ceilings can cover the entire sky and can change quickly around mountains, fjords, and open water. In Iceland, for example, a clear inland area can sit surprisingly close to a cloudy coast. In northern Norway, valleys and fjord routes may have very different conditions from nearby higher ground.
Mid-level and high clouds require more judgment. Thin high cloud may still allow a bright aurora to show through, though colors and structure will look softer and photographs will lose contrast. Dense middle cloud is more likely to block the display. When the aurora is weak, even light haze can make it difficult to see with the naked eye.
Use a cloud map that separates low, medium, and high layers when possible. If it does not, treat the percentage as a first filter rather than a final answer. A place with 40% scattered cloud can be much better than a location forecast at 20% cloud if the lower number represents a solid layer at the wrong time.
Read the forecast as a moving map, not a verdict
A cloud forecast is a prediction of movement, not a fixed truth. Start by checking the expected conditions for your location during your likely viewing window, then compare places within a sensible driving radius. Look for a clearing that is approaching, expanding, or holding steady for at least an hour.
The direction of travel matters. If clouds are moving east and a clear zone lies to your west, driving west may place you under clearer sky. If a cloud band is broad and moving directly toward the only accessible clear patch, it may be smarter to wait or choose another area. Animated cloud maps are especially useful because they reveal whether breaks are organized weather systems or brief gaps that will close quickly.
Do not assume the nearest clear pixel is reachable. A map may show open sky across a mountain pass, a closed road, private land, or an exposed route where wind and ice make a nighttime drive unsafe. For travelers on a short trip, the best clear-sky option is often the safe one you can reach before the aurora window peaks.
Forecast resolution also matters. Mountain terrain, coastlines, lakes, and glaciers create local weather that broad regional models can miss. A forecast may be broadly correct while being wrong at one specific viewpoint. Keep checking current observations, road cameras where available, precipitation radar, and the sky itself as you travel.
Choose a realistic clear-sky search radius
There is no universal distance worth driving. It depends on road conditions, daylight, fuel, confidence behind the wheel, and how quickly the clouds are changing. For many travelers, a 30- to 60-minute radius is a useful starting point. In remote regions, that range may be shorter if roads are icy or services are limited.
Plan two or three viewing areas before nightfall rather than improvising in the dark. Your first location should be the best balance of clear sky, open horizon, and safe access. Your backup should be easy to reach if cloud arrives. A final fallback can be close to your hotel, where you can wait for breaks without turning a disappointing forecast into a stressful night drive.
Avoid treating every viewing night as a road trip. If the cloud map shows widespread overcast with no nearby edge or break, save your energy. Aurora travel rewards patience. A better opportunity may arrive the following evening, and clear skies do not help if you are too tired to drive or set up your camera safely.
Use the moon and local light to your advantage
Clear sky alone does not guarantee a great experience. The moon, city lighting, and your viewing direction shape what you can see once the clouds move away.
A bright moon can wash out faint aurora details, especially in long-exposure photographs, but it also lights the landscape and makes winter driving and composition easier. If the moon is high and bright, seek darker surroundings and give your eyes time to adjust. If the moon is below the horizon or near new, faint green arcs may stand out more clearly, although you will need a headlamp and more careful footing.
Artificial light is equally important. A dark beach, lakeshore, field, or overlook may offer a better view than a slightly clearer spot beside a bright town. That said, do not drive far from safe services only to escape a little light pollution. A clear, accessible sky is usually better than a risky search for perfect darkness.
Pair cloud cover with the aurora forecast
Clouds answer one question: can you see the sky? They do not answer whether the aurora is active. A useful decision combines local cloud conditions with the solar wind and magnetic conditions that power the Northern Lights.
The KP Index is a broad indicator of geomagnetic activity, but it is not a local visibility forecast and it does not tell you whether the sky overhead is open. Solar wind speed and density help describe the energy arriving near Earth. IMF Bz, the north-south direction of the interplanetary magnetic field, is especially useful because sustained southward Bz often supports stronger coupling with Earth's magnetic field. These signals can change over the course of a night.
This is why a low or moderate KP reading should not automatically end your plans in Iceland, northern Scandinavia, Alaska, or northern Canada. Near the auroral oval, visible aurora can appear during quieter conditions if clouds are clear and darkness is sufficient. Likewise, a high KP night may be a poor viewing night under thick cloud.
AuroraVision brings these factors together in one live view, combining its Live Aurora Score with solar wind, IMF Bz, cloud cover, moon phase, and weather. Check it before leaving, then check again if conditions shift. A real-time score is most helpful when you use it alongside the cloud map and your own safe travel limits.
Watch the sky after you arrive
Once you reach a clear area, do not leave after five quiet minutes. Aurora activity can pulse, brighten, fade, and return. Give the sky at least 30 to 60 minutes when conditions are promising, especially if solar wind data suggests activity may build.
Scan the northern horizon in most aurora destinations, but look overhead and toward the south during stronger displays. Early aurora often appears as a pale gray-green band that can be mistaken for thin cloud. Your camera may reveal green before your eyes do, but use short test exposures rather than relying on a screen alone. If stars remain sharp and visible, your sky is likely open enough to keep watching.
Cloud gaps can be productive, too. A break does not need to cover the entire sky. If you can see a clear northern horizon and a large patch overhead, stay alert. The aurora may appear precisely in that opening, and moving cloud can create dramatic photographs if it does not obscure the main display.
Know when not to chase a clearing
The most experienced aurora travelers are selective. Do not drive into strong wind, blowing snow, freezing rain, avalanche-prone terrain, flooded roads, or areas with limited visibility simply because a map suggests a clear patch. Tell someone where you are going, keep warm clothing and a charged phone with you, and carry enough fuel for delays.
If you are unfamiliar with winter driving, a guided Northern Lights tour can be the smarter choice. Good local guides know safe pullouts, road conditions, and regional cloud patterns, and they can make a quick location change without asking you to navigate unfamiliar roads at night. Independent travel offers flexibility, but it also puts weather and safety decisions on you.
The best clear sky is not always the clearest one on the map. It is the one you can reach safely, where you can stay long enough to watch, and where the clouds, darkness, and aurora conditions line up. Keep your plan flexible, trust the live conditions over a forecast made hours ago, and be ready when the opening appears.