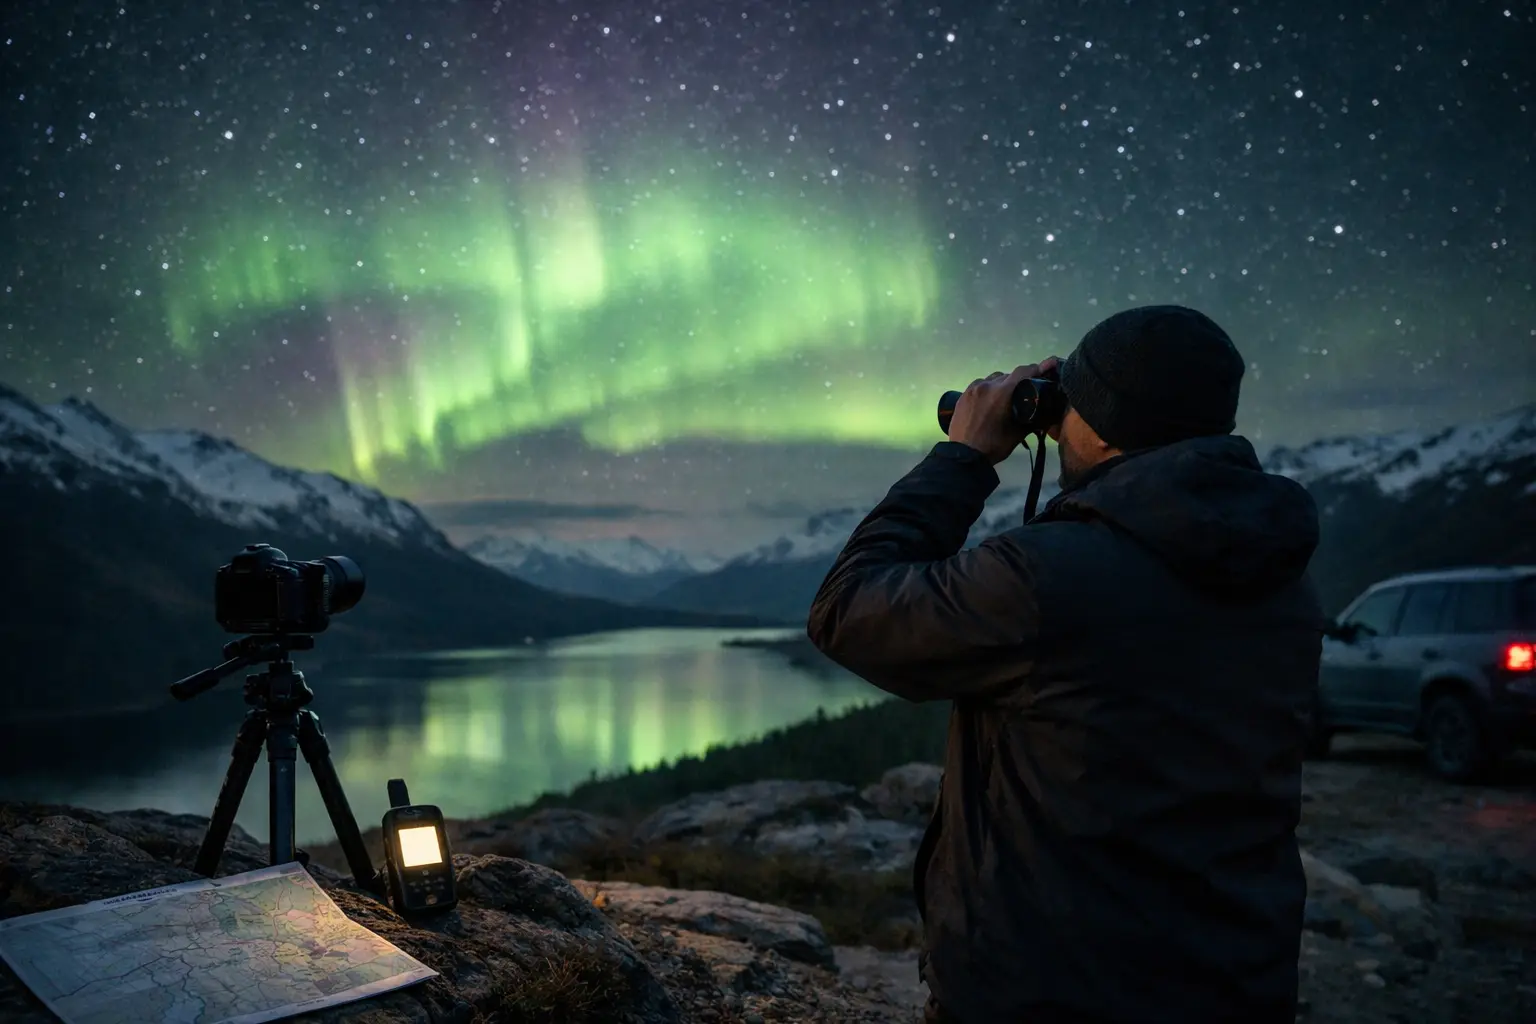
A bright aurora can still disappear behind a gas station canopy, a hotel floodlight, or the glow from a nearby town. To find dark sky locations that actually work, look beyond a pin on a map. You need a place with low artificial light, an open view of the northern horizon, safe access after dark, and conditions that allow the sky to be visible.
For Northern Lights travelers, darkness is not a single checkbox. It is one part of a real-time decision that also includes cloud cover, moonlight, weather, road conditions, and the strength and position of the auroral oval. The best viewing spot is often not the most remote place. It is the place you can reach safely, see clearly from, and leave quickly if the forecast changes.
What makes a dark sky location useful for aurora viewing?
A dark sky location has limited direct light reaching your eyes. That means fewer streetlights, signs, parking-lot lamps, house lights, and headlights. Your eyes can adapt to the darkness, making faint aurora structures and stars easier to see. It also improves camera results by reducing glare and uneven color in the foreground.
But an officially designated dark-sky area is not automatically the best aurora site. A forested site may be wonderfully dark but block the horizon. A mountain valley may remove city glow while trapping low cloud or fog. A beach may offer an enormous open sky but become dangerous in wind, surf, or icy conditions.
For aurora viewing, prioritize three practical features: low local light, a wide northern view, and a safe place to stand or park. In Iceland, that might be a legal roadside pullout away from Reykjavík’s glow. In northern Norway, it may be a coastal viewpoint with an open fjord horizon. In Finnish Lapland, a frozen lakeside can be excellent when it is safe and authorized, because the open surface removes trees from your sightline.
Start with a map, then inspect the ground reality
Light-pollution maps are a smart starting point, especially when planning a road trip or choosing accommodation. Look for areas outside the brightest urban zones, then compare several possible stops rather than committing to one “perfect” location. A moderately dark site 15 minutes from your hotel can outperform a remote site two hours away if clouds move in or roads become difficult.
Satellite imagery and terrain maps add the details light maps cannot show. Check whether a road ends at a parking area, whether the viewpoint faces north, and whether hills or dense woodland block the sky. Coastal roads, lake edges, farmland, open tundra, and elevated lookouts often provide better visibility than sheltered wooded areas.
Do not assume every open-looking point is available at night. Private driveways, farm entrances, emergency turnarounds, narrow road shoulders, and protected areas are not viewing sites. Use marked parking areas and public access points, follow local signs, and never stop where your vehicle blocks traffic or snowplows. A dark location is not worth a dangerous roadside stop.
Look for the horizon, not just darkness
Many first-time aurora hunters focus only on escaping city lights. The more useful question is: how much sky can I see? During weaker displays, aurora may sit low in the northern sky. A nearby ridge, row of trees, or building can hide it completely.
Stand at your potential location during daylight if possible. Face north and check for obstructions. Then look east and west as well. Auroral arcs can stretch across the sky, and active displays may develop overhead or shift quickly. A site with a broad 180-degree view gives you more time to notice changes and compose photographs.
In places south of the main auroral oval, such as parts of southern Iceland, a clear northern horizon matters even more. Farther north, including Tromsø, Abisko, Fairbanks, and Yellowknife, the aurora can appear in more directions during strong activity. Even there, an open sky remains valuable when the display is faint or fragmented.
Moonlight changes what “dark enough” means
Moon phase belongs in every aurora plan. A new moon gives the darkest background and is ideal for photographing faint aurora, stars, and the Milky Way. A bright moon can wash out subtle green bands and make cameras capture a paler sky.
That does not mean you should stay inside during a full moon. Strong aurora remains visible under moonlight, and the moon can illuminate mountains, snow, cabins, and coastlines for more balanced landscape photos. The trade-off is simple: moonlight reduces contrast, while it improves foreground detail.
The moon’s position also matters. A full moon below the horizon has no direct effect on your viewing conditions. A half moon high in the sky may be more noticeable than a fuller moon close to setting. Before driving out, check both the phase and the moonrise and moonset times for your location.
Clouds are usually the deciding factor
A dark sky without clear sky is still a dark sky you cannot use. For many nights, cloud cover matters more than the KP Index. A modest aurora beneath a clear gap can be memorable; a major geomagnetic event hidden behind thick cloud is not visible from the ground.
Read cloud forecasts as a moving pattern rather than a single percentage. Cloud layers can vary across short distances, particularly around mountains, coasts, and fjords. One valley may be overcast while a nearby shoreline is clear. In Iceland and the Faroe Islands, changing wind and marine weather can make this especially important.
Check for high, middle, and low cloud when that information is available. Thin high cloud may still allow bright aurora to show through, although stars and fine structure lose clarity. Low, thick cloud is generally a harder stop. If the forecast shows broken clouds, choose several dark-sky options within driving range and be ready to move toward the clearest gap.
Use real-time space weather, not one number
KP is a broad measure of geomagnetic activity, not a guarantee that aurora will be visible over your specific parking area. It does not tell you whether clouds cover your sky, whether moonlight is strong, or whether current solar-wind conditions are improving or fading.
For a more useful decision, combine local weather with solar wind speed, density, and the interplanetary magnetic field, especially IMF Bz. When Bz turns southward, it can help energy enter Earth’s magnetic system and support auroral activity. Conditions can change quickly, which is why an evening forecast should be checked again before you leave and while you are out.
The free AuroraVision app brings these factors together through its Live Aurora Score, real-time solar wind, IMF Bz, cloud cover, moon phase, weather, and alerts. Use it to identify the best time tonight, then match that window with the darkest safe location you can realistically reach. A practical plan beats waiting for a single metric to look dramatic.
Build a two-location plan before sunset
The most effective aurora travelers do not search for one magical spot. They prepare a primary location and a backup. Your first site might be farther from city light with a broad northern horizon. Your backup might be closer to town, slightly brighter, but easier to access if wind rises, roads become icy, or cloud cover shifts.
Before sunset, download offline maps, fill the fuel tank, charge your phone and camera batteries, and check whether public restrooms or services will be closed. Cold drains batteries quickly, so keep spares warm inside a jacket pocket. Bring layers, reflective clothing, water, and a headlamp with a red-light mode if possible. White light ruins night vision for everyone nearby.
If you join a guided Northern Lights tour, ask how the operator chooses locations. The better operators do not promise one fixed viewpoint. They track clouds, road conditions, and active weather patterns, then drive toward the best available opening. This can be particularly valuable for visitors unfamiliar with winter roads in Iceland, Norway, Alaska, or Northern Canada.
Know when a location is too dark, too remote, or too risky
There is a point where chasing darkness becomes counterproductive. An unmaintained road, isolated trail, exposed shoreline, or unmarked pullout may create risks that outweigh the benefit of lower light pollution. Winter weather can turn a simple drive into a recovery situation, especially where black ice, high winds, drifting snow, or limited cell coverage are common.
Stay with your vehicle when conditions are uncertain. Park fully off the road, avoid walking onto frozen water unless you have confirmed it is safe, and keep clear of cliffs and ocean edges. Never use another traveler’s headlights as a reason to stop in an unsafe place. There will be other clear nights and other viewing windows.
A darker location also is not always better for photography. If you want foreground interest, a carefully chosen cabin, mountain, waterfall, or shoreline may involve some distant light. Compose away from direct lamps, shield your lens from glare, and accept that a useful image often comes from balancing darkness with a safe, interesting landscape.
The goal is not to find the blackest dot on a map. It is to put yourself under the clearest available sky, with room to see north and enough time to watch the aurora change. Set your alerts, keep a backup location ready, and when the sky opens, go.