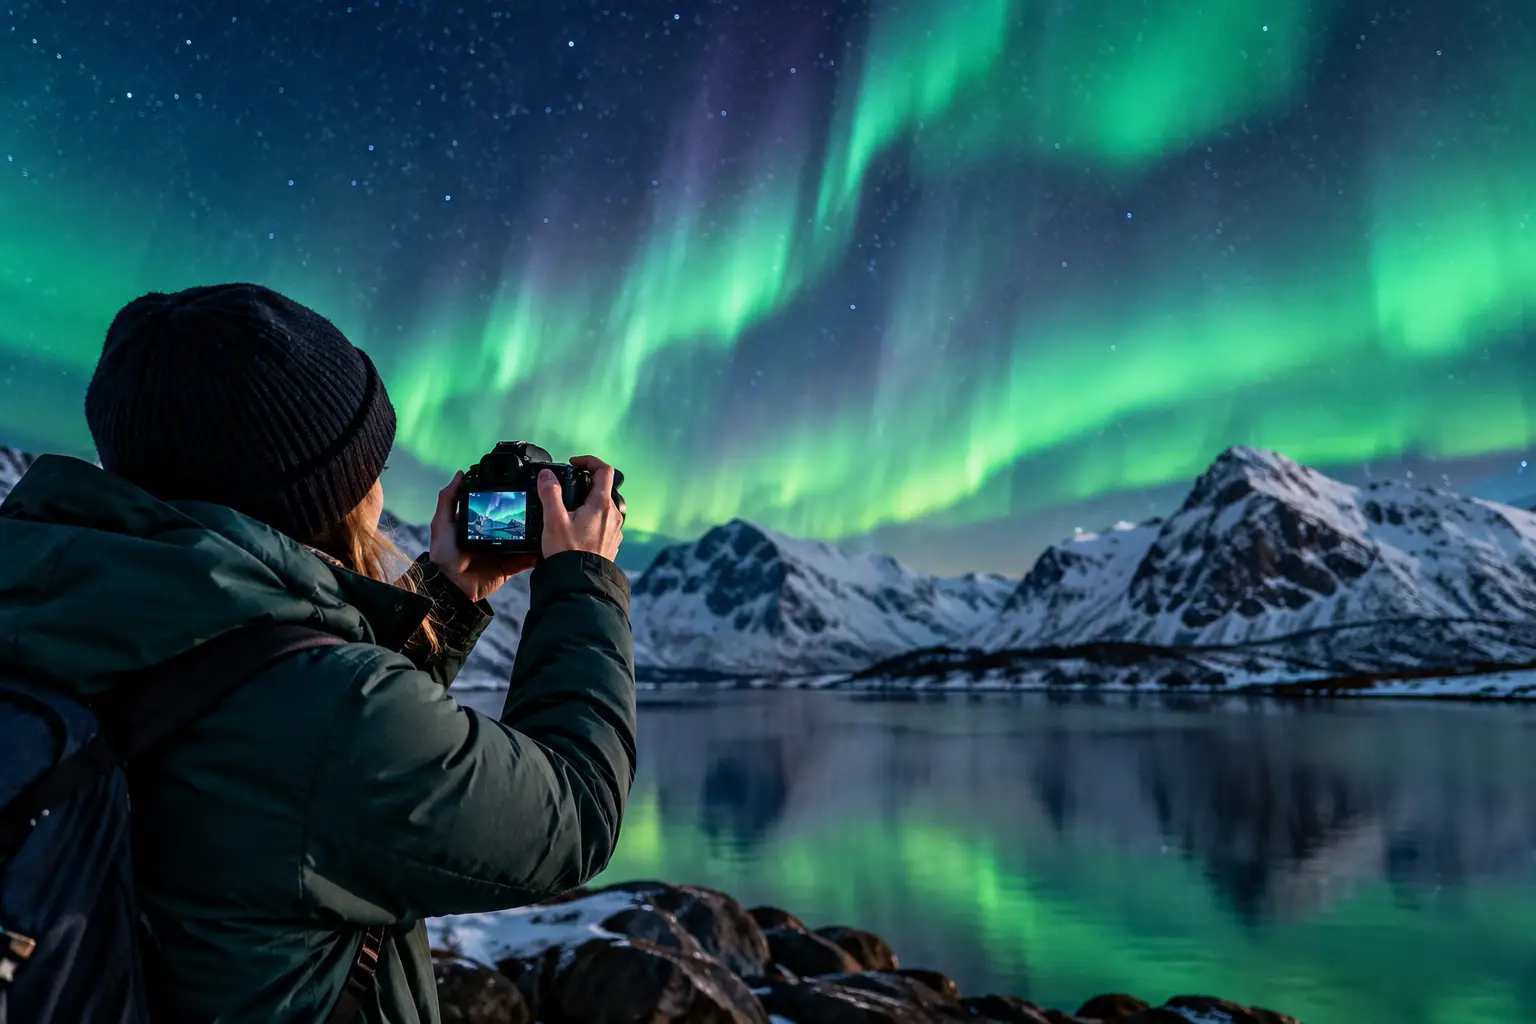
A tripod is the best tool for aurora photography, but it is not the only way to come home with a strong image. Knowing how to photograph northern lights handheld lets you react when the sky suddenly intensifies, when you are walking between viewing spots, or when packing light matters more than carrying extra gear. The key is to work with the aurora you actually have - not the faint glow your camera settings wish you had.
Handheld northern lights photography is most realistic during a bright, active display. A faint arc low on the horizon usually demands a tripod and a longer exposure. A fast green band overhead, on the other hand, can often be captured with a wide lens, a modern camera, and disciplined technique.
Start With Conditions That Favor Handheld Shots
The first decision happens before you touch the shutter button. You need enough light to use a shutter speed fast enough to avoid blur from your hands and from the moving aurora. That usually means a strong visible display, ideally with distinct structure, bright green color, or active rays rather than a weak, featureless haze.
Cloud cover matters just as much as solar activity. A high KP Index does not guarantee a useful photograph if clouds block the northern sky, while a modest geomagnetic event can produce excellent images under clear, dark conditions. Moonlight can also change your approach. A bright moon may soften faint aurora contrast, but it can illuminate mountains, snow, cabins, and people in your foreground, making handheld compositions easier to expose.
Before leaving your hotel or changing driving plans, check a forecast that combines the variables that affect what you will see on location. The free AuroraVision app brings together Live Aurora Score, solar wind, IMF Bz, cloud cover, moon phase, and local weather, so you can identify the Best Time Tonight instead of making decisions from the KP Index alone. If the aurora is likely to be weak, bring the tripod. If conditions point to a bright, clear window, handheld shooting becomes a realistic option.
Choose a Camera and Lens That Give You a Chance
A larger-sensor camera provides more room to raise ISO without turning shadows into heavy digital noise. Full-frame cameras are especially forgiving, but recent APS-C and Micro Four Thirds models can work well when the aurora is bright. What matters most is the combination of sensor performance, lens aperture, and your willingness to accept some grain rather than a blurred frame.
Use the widest, fastest lens you have. A focal length between 14mm and 24mm on full frame is ideal because it captures a broad section of sky and makes hand shake less obvious than a tighter lens would. An aperture of f/1.4 to f/2.8 is a major advantage. With a slower f/4 lens, handheld results are possible only in unusually bright conditions or with very high ISO settings.
Your phone can capture bright aurora, particularly when its night mode stacks multiple frames, but handheld phone images are less predictable. Night mode often requires you to hold still for several seconds, and it may blur moving curtains or produce artificial-looking detail. Use it for a quick memory of a strong display, but do not expect the same control you get from a camera shooting RAW files.
Handheld Northern Lights Camera Settings
Set your camera to manual exposure and RAW capture. RAW files retain far more color and shadow information, which matters when you need to reduce noise or balance a green sky against a darker foreground later.
For a bright, moving display, begin around f/1.8 to f/2.8, 1/5 to 1/2 second, and ISO 3200 to 6400. This is a starting point, not a fixed formula. If the aurora is intense and your lens is fast, try 1/10 to 1/4 second at ISO 6400 or higher. The shorter exposure does two useful things: it reduces hand-shake blur and preserves the shape of fast-moving rays.
If the aurora is steady but bright enough, 1 second may be possible with careful bracing and image stabilization. Beyond that, success rates fall quickly unless you can rest the camera on something solid. Do not be afraid of ISO 8000 or even 12,800 if that is what keeps your shutter speed usable. A noisy but sharp photograph is usually more valuable than a clean but smeared one.
Watch your histogram and review images at high magnification. Northern lights can look bright on the rear screen while the file is actually underexposed. At the same time, avoid pushing exposure so far that the green channel clips and the brightest parts of the aurora lose texture.
Focus Before the Show Peaks
Autofocus often fails in darkness. Focus manually on a bright star, distant light, or far-off mountain edge before the activity begins. Magnify the live view, turn the focus ring slowly, and stop when the star is at its smallest, sharpest point. Then leave the lens in manual focus.
Do not simply turn the lens to the infinity mark. On many lenses, true infinity sits slightly before or after that marking, especially in cold conditions. Check focus again whenever you change lenses, accidentally touch the focus ring, or notice stars looking soft in playback.
Make Your Body the Tripod
Handheld aurora shooting is less about holding the camera perfectly still in open space and more about finding support. Lean against a vehicle, a wall, a fence post, or a large rock. Sit on the ground and brace your elbows against your knees. Pull the viewfinder firmly to your face rather than holding the camera at arm's length.
A simple shooting sequence helps. Frame the scene, exhale gently, press the shutter smoothly, and take several frames without moving your feet. A burst of five images may produce one noticeably sharper frame than the rest. If your camera has a two-second self-timer, use it when you can brace the camera on a stable surface. It removes the small jolt of pressing the shutter.
Keep image stabilization turned on for true handheld work if your lens or camera body offers it. It can help with static foregrounds and small vibrations, although it cannot freeze an aurora that is rapidly changing shape. If you rest the camera on a rigid surface, test a frame with stabilization on and off. Some systems can introduce a slight blur when they search for movement that is not there.
Cold changes the practical side of the job. Batteries drain faster, stiff fingers shake more, and condensation can form when gear moves between a warm vehicle and freezing air. Carry a spare battery in an inside pocket and keep your camera ready outside when conditions are promising. Repeatedly warming and cooling the camera wastes the short window when the sky is at its best.
Compose for Motion, Not Just Color
A handheld image benefits from a clean composition. Include a recognizable foreground such as a road, mountain ridge, cabin, frozen lake, or person, but do not spend the entire display searching for the perfect scene. Strong aurora can change in seconds.
Wide compositions are your friend. They give you a generous margin for slight camera movement and make it easier to show the relationship between sky and landscape. If the lights form a clear arc, place it diagonally across the frame or let it lead toward a subject. When a corona forms overhead, point upward and use a tree, roofline, or person at the edge of the frame to give the image scale.
Avoid looking only north. In Iceland, northern Norway, Alaska, and other high-latitude destinations, active aurora can appear overhead or spread across much of the sky. Turn slowly, look for structure, and choose the direction with the clearest sky and strongest composition.
Know When to Stop Shooting Handheld
There is no prize for refusing to use a tripod. If you need exposures longer than one second, if the aurora is faint, or if you want a detailed foreground under low moonlight, set the camera down or bring out proper support. A small travel tripod, beanbag, backpack, or even a car roof with a folded jacket can turn a marginal situation into a usable one.
The real advantage of handheld technique is speed. You can step out during an unexpected bright burst, photograph a few sharp frames, then decide whether the display deserves a longer setup. That flexibility is especially valuable on guided tours or road trips, where stops may be brief and the group needs to keep moving.
When the sky brightens, do not wait for perfect gear or perfect settings. Brace yourself, open the aperture, raise the ISO, shorten the shutter, and take the frame while the lights are alive. The aurora rarely repeats the same moment twice.