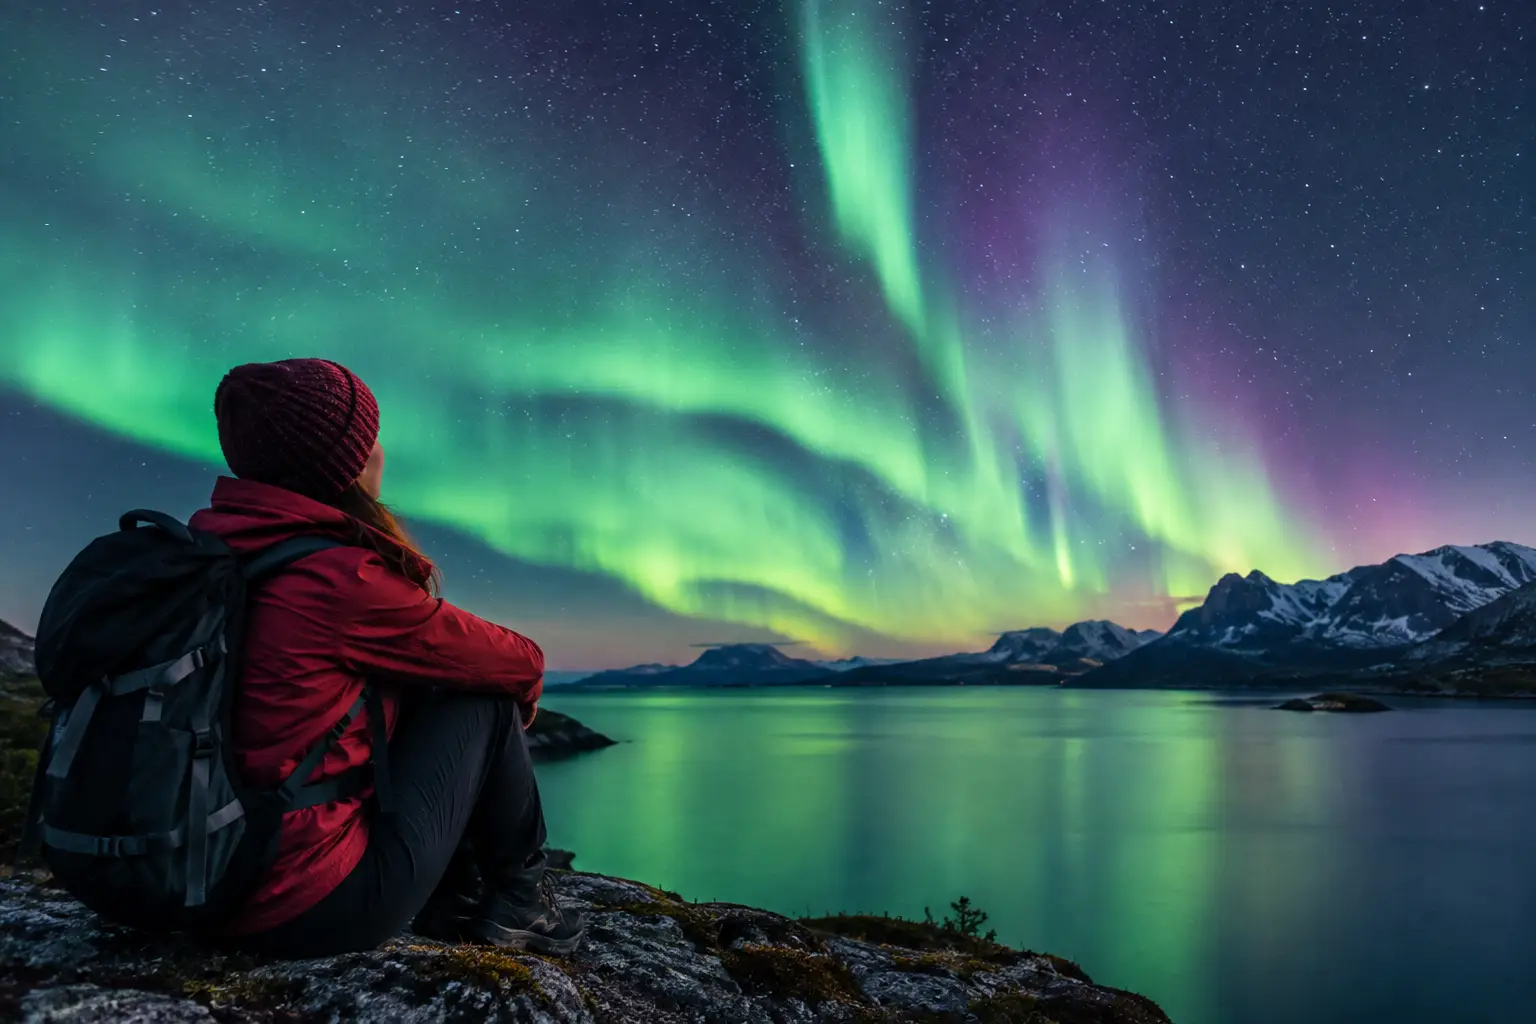
A quiet forecast does not mean a wasted night. Some of the clearest, most memorable displays happen during a successful low activity aurora chase, when a faint arc suddenly brightens above a dark fjord, roadside pullout, or snowy cabin. The difference is rarely luck. It is knowing what “low activity” actually means, choosing the right location, and reacting to real conditions rather than a single number.
A low KP Index can still produce visible Northern Lights in Iceland, northern Norway, Finnish Lapland, Alaska, and other locations beneath the auroral oval. If you are already in a high-latitude destination, you do not need a major geomagnetic storm to have a worthwhile night outside. You need clear sky, darkness, patience, and enough solar-wind energy reaching Earth to give the aurora a reason to appear.
What low activity really means
Low activity usually describes a modest level of geomagnetic disturbance, often reflected in a KP forecast around 1 to 3. That can sound disappointing, especially if you have seen dramatic viral images from a KP 6 or KP 7 storm. But KP is a global, three-hour index. It is useful context, not a minute-by-minute promise for your exact viewing spot.
For travelers in or near the auroral oval, a KP 2 can be enough. The lights may sit lower on the northern horizon, appear as a soft green band, or come and go in brief pulses rather than filling the entire sky. In northern Iceland, Tromsø, Abisko, Fairbanks, Yellowknife, and similar latitudes, those subtle displays are often visible when the sky is genuinely dark and clear.
The trade-off is simple: low activity usually means less dramatic structure, lower altitude, and shorter active intervals. It can also mean fewer crowds and a more relaxed chase. A quiet aurora night rewards people who stay observant instead of expecting constant fireworks.
Build a successful low activity aurora chase around visibility
The first question is not “What is the KP?” It is “Can I see the sky where I am?” Cloud cover can end an otherwise promising night, while a cloud-free pocket can turn modest solar activity into a real viewing opportunity.
Start with a location away from direct streetlights and large illuminated buildings. You do not need to drive into unsafe wilderness to improve your view. A dark beach, open field, harbor edge, lake shore, or designated roadside viewpoint can work well if it offers a broad view north and a safe place to park. In Iceland, wind and road conditions may make a short, sensible drive better than an ambitious route. In Arctic Norway or Alaska, cold, ice, wildlife, and remote-road conditions deserve the same respect.
Give your eyes time to adjust. Put away bright phone screens, switch your display to its dimmest red setting if available, and look for a pale gray-green arc rather than immediate neon color. The camera sensor can often reveal green or purple before your eyes see strong color, but do not judge the whole night through a screen. Watch for movement, brightening along an arc, vertical rays, or a band that slowly expands.
Moonlight is another practical variable. A bright moon does not erase the aurora, particularly when activity strengthens, but it reduces contrast during weak displays. On a low activity night, darker conditions can make the difference between a barely detectable arc and a clearly visible one. If the moon is high and bright, seek a location where terrain, a building, or trees block the moon without blocking your northern view.
Read the signals that KP cannot show alone
A successful chase depends on conditions changing in your favor. Solar wind delivers charged particles from the Sun, while the interplanetary magnetic field, known as IMF, influences how efficiently that energy enters Earth’s magnetic environment.
The most useful IMF measure for aurora watchers is Bz. When Bz turns southward, or negative, it can create a more favorable connection with Earth’s magnetic field. A sustained negative Bz paired with adequate solar-wind speed and density can support aurora activity even if the broader KP forecast remains modest. A positive Bz, by contrast, can limit activity despite an exciting-sounding KP estimate.
This is why a single forecast number is not enough for decisions on the road. AuroraVision combines its Live Aurora Score with real-time solar wind, IMF Bz, cloud cover, moon phase, and local weather. That broader picture helps answer the practical question travelers actually have: is this a night to leave the hotel now, stay nearby and watch, or wait for a better window?
Check the live data before heading out, then check it again if conditions change. A negative Bz can weaken quickly, clouds can roll in, and an ordinary-looking night can improve after midnight. Treat each update as a decision point, not a guarantee.
Choose timing that gives you more chances
Aurora activity often increases around local magnetic midnight, though there is no fixed hourly schedule. In many destinations, the strongest viewing window falls somewhere between about 9 p.m. and 2 a.m. local time. Low activity can appear earlier or later, so do not wait until midnight to begin watching if the sky is clear.
Plan a flexible session rather than one short stop. Arrive at a safe viewpoint, settle in for at least 60 to 90 minutes, and use warm layers, insulated boots, gloves, and a hot drink to make waiting realistic. The aurora commonly behaves in cycles: a quiet arc, a brief activation, then another lull. Leaving after ten minutes is one of the most common ways to miss the best moment.
If cloud cover is patchy, use the forecast to identify a nearby break rather than driving blindly. Keep your route conservative. A two-hour chase through winter weather for a marginal cloud improvement is not always the smart choice, especially after a long flight or on unfamiliar roads. A guided Northern Lights tour can be a strong option when conditions are variable, because experienced guides can assess local sky conditions and handle route decisions while you focus on the sky.
Keep expectations realistic, not low
There is a difference between low activity and no activity. On a weak night, you may see a delicate arc for twenty minutes, a faint curtain behind thin cloud, or a sudden five-minute burst that becomes the highlight of your trip. These moments are still authentic aurora, and they are often beautiful in a quieter, more intimate way.
Photographers should adapt rather than force a storm-night approach. Use a tripod, a wide aperture, and a shutter speed that matches the brightness and movement of the display. For a faint arc, longer exposures may reveal color and detail. If the aurora begins moving quickly, shorten the exposure to preserve rays and texture. Check focus manually on a bright star or distant light before the activity begins, since autofocus struggles in darkness.
For first-time viewers, the best strategy is to separate success from spectacle. Success means you put yourself under clear, dark sky during a credible window, understood the conditions, and gave the aurora time to respond. The scale of the display is controlled by space weather, not effort.
Make the call: go, wait, or sleep
Go when skies are clear or clearing, darkness is established, and live solar-wind conditions show at least some potential. Stay out when Bz is negative, the Live Aurora Score is improving, or a faint arc is already visible. Wait if cloud breaks are approaching or conditions are fluctuating near a convenient viewpoint.
Sleep when thick cloud is settled across the region, the weather makes travel unsafe, or the real-time indicators remain weak with no meaningful change. Rest is part of a smart multi-night strategy. Travelers who conserve energy can respond quickly when the next clear window arrives.
A low activity night asks you to slow down and pay attention. Find the dark sky, watch the live conditions, and stay ready for the small shift that turns an ordinary forecast into your moment under the Northern Lights.