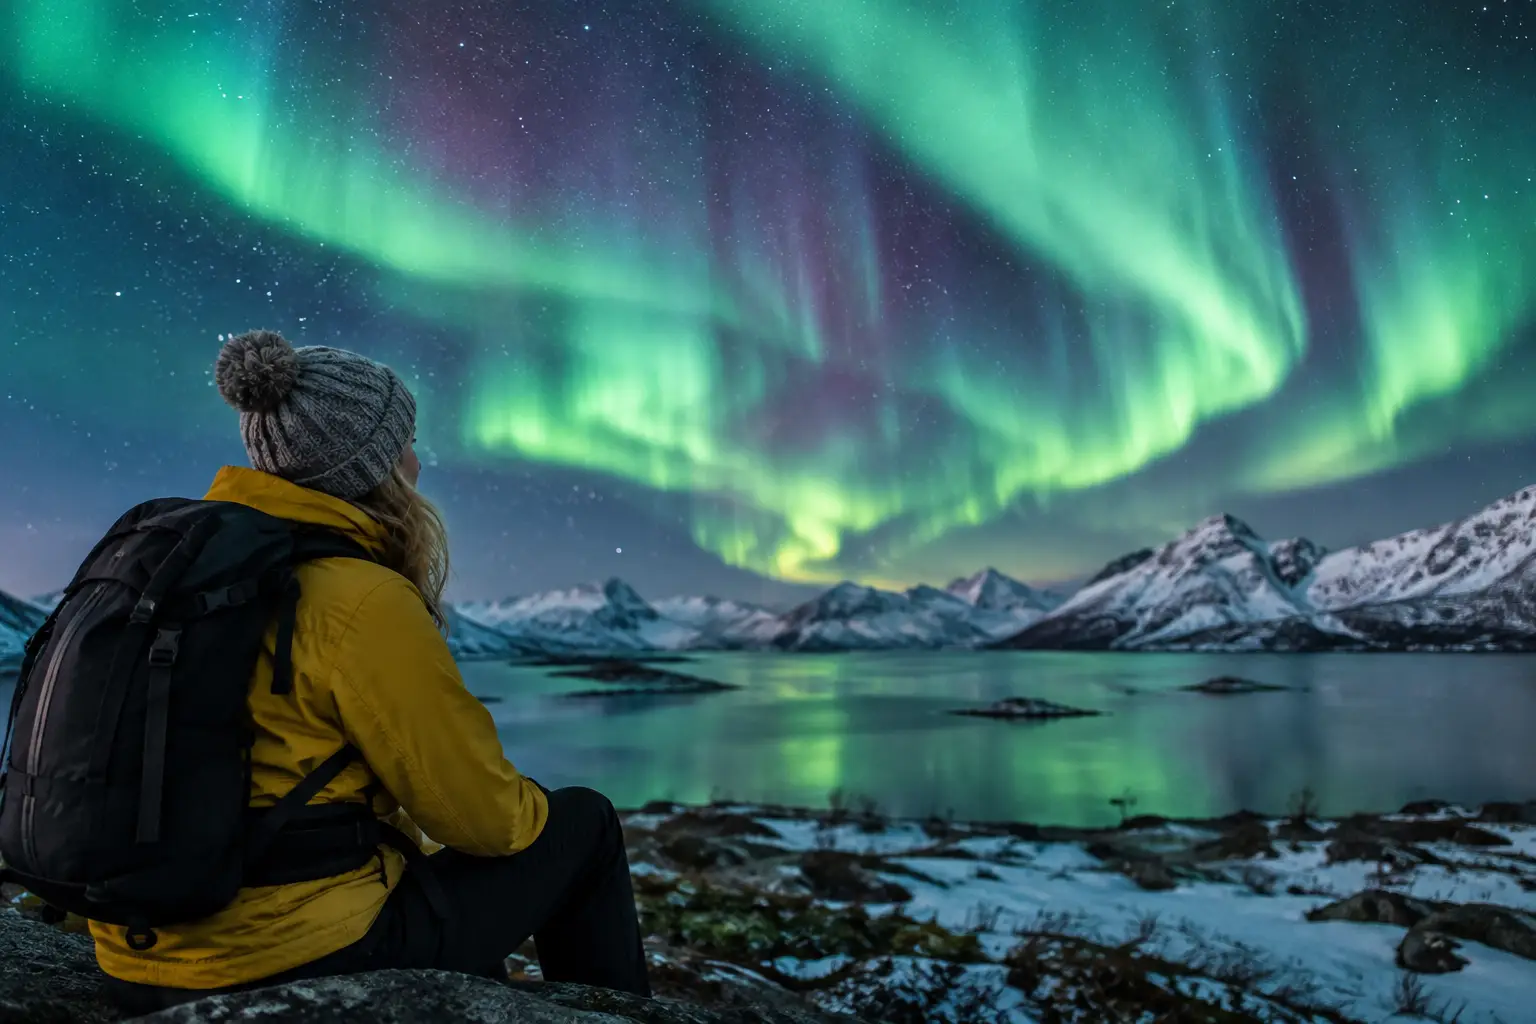
A great aurora trip is rarely about standing in the right place at exactly the right time. Knowing how to plan aurora chase nights means building enough flexibility to respond when the sky, weather, and solar activity finally line up. The Northern Lights do not follow a sightseeing schedule, so the travelers who see them most often are the ones ready to make a smart decision at 9 p.m., not just the ones who booked a scenic hotel months earlier.
How to plan an aurora chase around opportunity
Start by treating your trip as a series of possible viewing windows rather than one big night out. Give yourself at least three nights in an aurora destination if you can, and five to seven nights if seeing the lights is a major reason for the trip. More nights do not guarantee an aurora display, but they dramatically improve your odds of catching a clear break in the clouds during active conditions.
Your best season depends on latitude and travel style. In Iceland, Norway, Sweden, Finland, Greenland, Alaska, and Northern Canada, dark skies typically return from late August or September through March or April. The deepest winter brings long nights, but it can also bring difficult roads, storms, and very cold temperatures. September, October, March, and early April often offer a useful balance of darkness, road access, and milder conditions, though weather always has the final say.
Do not plan around a single forecast made weeks in advance. Long-range space-weather outlooks can hint at elevated activity, but they cannot reliably identify the best viewing hour for a specific night. Build a trip that you would enjoy even if clouds win for a night or two. Hot springs, winter hikes, coastal drives, local food, museums, dog sledding, and snow activities turn an aurora trip into a worthwhile vacation rather than a frustrating wait for green light.
Choose a base that gives you options
The best aurora base is not always the most remote location on a map. You need dark skies, a reasonably open view north, safe access, reliable accommodations, and alternative routes if one area is cloudy. A lodge far from city lights may look perfect, but it can become limiting if you cannot safely drive away from its weather system.
For independent travelers, choose accommodations within reach of several viewing areas. In Iceland, that might mean staying outside central Reykjavik while retaining access to roads in more than one direction. In northern Norway or Finnish Lapland, it may mean choosing a town with guided tours available on cloudy nights, rather than an isolated cabin where you are committed to one patch of sky.
Light pollution matters, but it is not the only factor. A bright aurora can be visible from a city, especially in places such as Tromso, Reykjavik, Fairbanks, or Yellowknife. However, city lights reduce contrast and make photography harder. If you stay in town, identify a darker nearby shoreline, hill, park, or rural pullout before nightfall. Never stop on a narrow road or block traffic simply because the sky starts glowing.
Consider a guided tour when flexibility is limited
A Northern Lights tour can be the practical choice if you have only one or two available nights, are unfamiliar with winter driving, or do not want to interpret changing weather maps yourself. Good operators monitor cloud cover, road conditions, and local microclimates, then move toward clearer skies when safe. They cannot create aurora or remove clouds, but their local experience can save hours of guesswork.
A rental car creates more freedom, especially for photographers and road-trip travelers, but it also creates responsibility. Confirm winter tires, insurance coverage, fuel rules, emergency procedures, and any road restrictions before collecting the vehicle. In much of the Arctic, the safest chase is the one you decide not to make when wind, ice, visibility, or avalanche warnings make travel unwise.
Read the forecast like a chaser, not a headline
The KP Index is useful as a broad measure of geomagnetic activity, but it is not a personal visibility forecast. A low or moderate KP can still produce a memorable display directly beneath the auroral oval, while a high KP does little for you under thick cloud. The question is not simply, “What is KP tonight?” It is, “Will the aurora be active enough for my location during a clear, dark window?”
That answer requires several datasets. Solar wind speed indicates how quickly charged particles are arriving from the Sun. Density helps show how much material is available. IMF Bz describes the direction of the interplanetary magnetic field; when Bz turns southward, it can couple more effectively with Earth’s magnetic field and support auroral activity. None of these numbers works alone. Their value comes from the pattern they form together over time.
Then add local conditions. Cloud cover often determines whether you see anything at all, and weather can vary sharply across short distances in coastal and mountainous regions. Moon phase matters most for faint aurora and photography: a bright moon can wash out subtle detail, but it also lights landscapes beautifully during a strong display. Check the moon’s position, not just its phase, because a moon below the horizon has little effect.
AuroraVision brings these moving parts together with a Live Aurora Score, solar wind, IMF Bz, cloud cover, moon phase, weather, and smart alerts. Use the free app during your trip to identify the Best Time Tonight, then compare that window with nearby cloud patterns before deciding whether to leave your hotel. This is more useful than chasing one dramatic KP number because it connects space weather to what you can actually see where you are.
Build a nightly chase routine
Make your decisions in layers. In the afternoon, review the overnight weather, identify two or three possible viewing areas, and confirm road conditions. At dusk, pack your gear, fill the car with fuel, download offline maps, and eat before the strongest hours begin. Once darkness arrives, check the live data again and be prepared to move when clouds break or activity rises.
Aurora displays often strengthen around local midnight, but there is no universal schedule. In some locations they begin soon after dark; on active nights they can continue until dawn. Plan to stay out long enough to give your eyes time to adapt and the sky time to change. A faint gray arc may appear first, then develop structure, movement, and color as conditions improve.
Avoid checking forecasts every two minutes. Space weather changes, but constant refreshing can make you miss the sky above you. Set alerts for meaningful changes, then look up regularly. If the horizon is clear, step outside even when the forecast appears modest. Cameras and dark-adapted eyes can reveal activity that is not obvious at first glance.
Pack for waiting, not just for photos
Aurora chasing usually involves standing still in cold air, sometimes for longer than expected. Dress in layers that trap warmth without restricting movement. Insulated boots, thick socks, windproof outerwear, warm gloves, a hat, and a neck gaiter matter more than fashionable winter clothing. Bring a thermos, snacks, a headlamp with a red-light mode, a portable battery, and a fully charged phone.
If you are driving, carry items appropriate to local conditions: extra water, emergency food, warm blankets, a first-aid kit, an ice scraper, and a flashlight. Keep your fuel level well above empty. Tell someone your intended route when heading into remote areas, and do not rely entirely on mobile service. In severe weather, stay at your accommodation or join a reputable guided tour rather than forcing an independent chase.
Photograph the lights without missing them
Use a tripod, a wide lens with a large aperture, and manual focus set precisely on a distant light or star. Start with a shutter speed of roughly one to five seconds for a bright, fast-moving display, then adjust based on your camera and the aurora’s speed. Longer exposures can brighten faint light but may blur active curtains into a softer glow.
Bring spare batteries inside a warm pocket because cold drains them quickly. Once you have a few solid images, put the camera down for a minute. The most memorable part of an aurora chase is often the movement overhead: a quiet arc suddenly folding, rippling, or bursting into structure that no still image fully captures.
Keep the goal simple
A successful aurora chase is not measured by a perfect forecast screenshot or the highest KP of the season. It is measured by making calm, informed choices when conditions change: going out when a clear window opens, staying flexible with your route, and knowing when safety should end the chase. Give yourself time, trust the full picture rather than one metric, and stay ready for the moment the sky decides to perform.