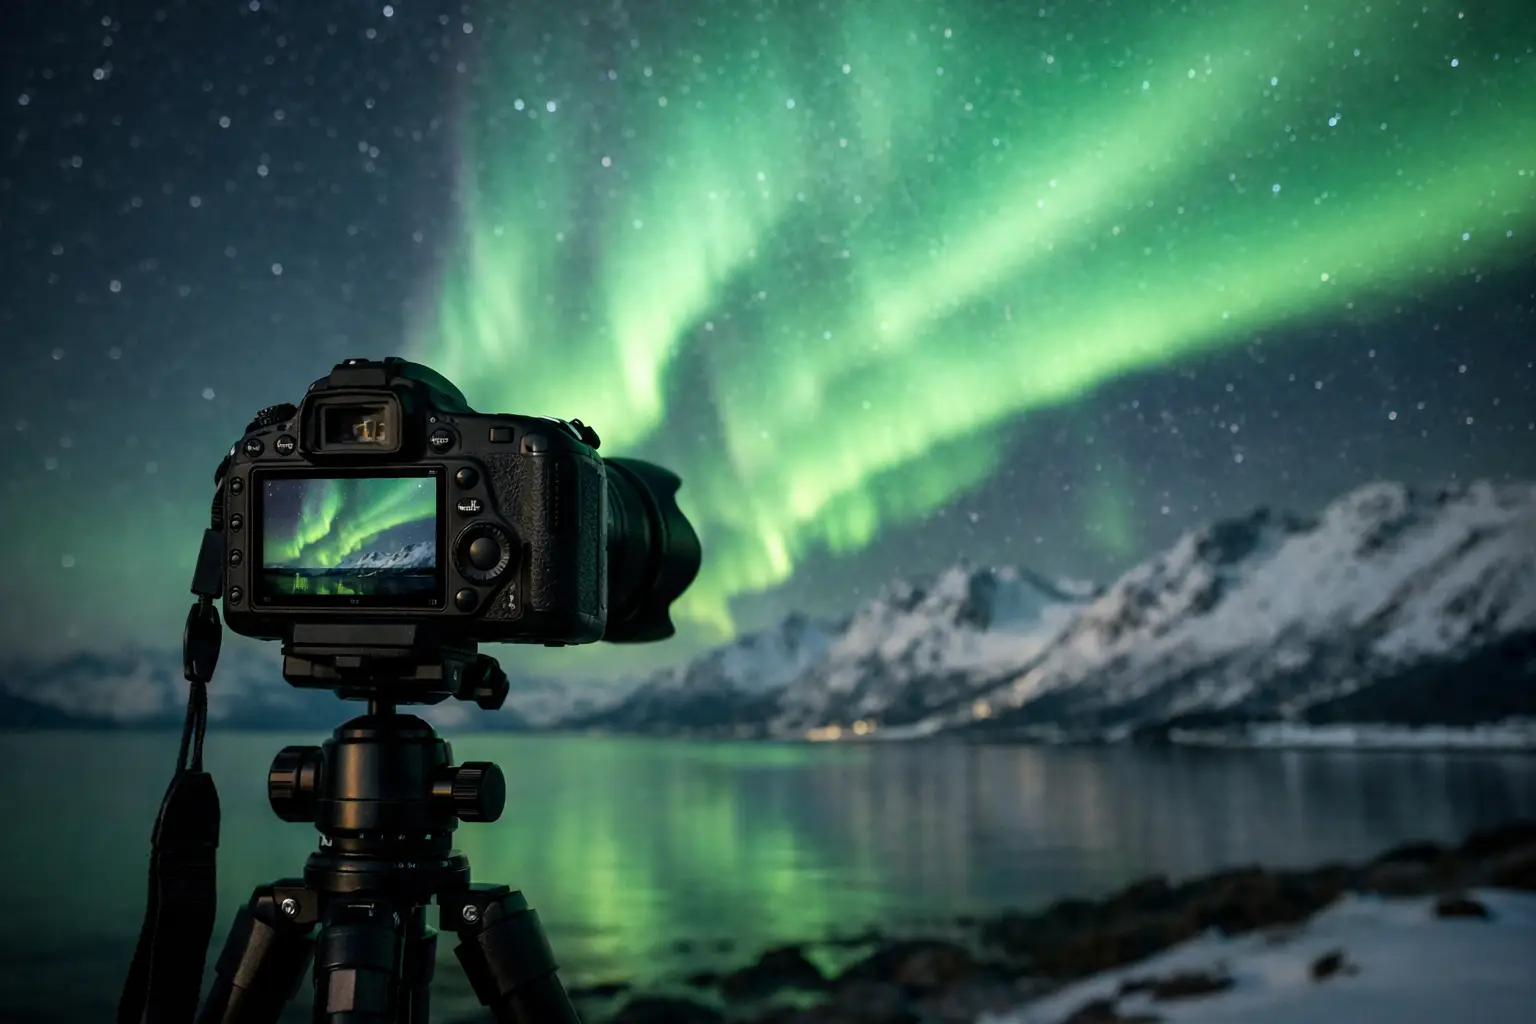
The first bright band appears above your horizon, and suddenly every camera button feels urgent. Reliable northern lights camera settings remove that pressure: begin with a stable exposure, then adjust only when the aurora changes. The goal is not one magic preset. It is a sharp, naturally colored image that matches the speed and brightness of the display in front of you.
Aurora photography happens in very low light, often in cold wind, with an unpredictable subject. A faint, slow arc needs a different exposure from fast green curtains racing across the sky. Set up before the activity starts, keep your hands warm, and make a few test frames while you still have time to think.
Northern Lights Camera Settings: Start Here
Use Manual mode and shoot RAW files. RAW captures more tonal and color information than JPEG, giving you far more room to correct white balance, shadow detail, and highlights later. Turn off the camera flash, image filters, and automatic scene modes.
For a modern interchangeable-lens camera, this is a dependable starting point: use the widest aperture on your lens, usually f/1.4 to f/2.8; set ISO 1600 to 3200; choose a 2- to 5-second shutter speed; and set white balance around 3,500K to 4,000K. If you use a full-frame camera and a bright lens, ISO 1600 and 3 seconds is often enough for active aurora. Crop-sensor cameras may need ISO 3200, a slightly longer exposure, or both.
These numbers are a starting line, not a rule. Check the first image at full magnification. Stars should look like points, not short streaks, and foreground objects should be crisp if they are close enough to be illuminated. If the frame is too dark, first lengthen the shutter speed. Raise ISO only after that, because higher ISO brings more visible noise and can reduce color detail.
Match exposure to the aurora’s movement
When the lights are faint and mostly still, try 6 to 10 seconds at f/1.8 to f/2.8 and ISO 1600 to 3200. This gives the sensor time to collect light and can reveal green color that is difficult to see with your eyes.
When bright curtains are moving quickly, shorten the shutter to 1 to 3 seconds. A long exposure can turn fine rays and swirling structure into a soft green blur. Lowering the ISO to 800 to 1600 may protect bright highlights and preserve texture in the curtains.
During a strong corona directly overhead, 0.5 to 2 seconds is often the better choice. The camera needs to react quickly because the shapes can change between frames. This is where a fast lens matters more than pushing ISO. A lens at f/1.4 lets you use a shorter shutter speed than an f/4 lens, helping retain the detail that makes a big display look alive.
Focus Is the Setting That Ruins More Photos
Autofocus usually struggles in darkness. Switch to manual focus before you head outside, then focus on a bright star, distant light, or the moon if it is visible. Use live view, magnify the display, and turn the focus ring slowly until the star becomes as small and precise as possible.
Do not simply rotate the lens to the infinity symbol. On many lenses, true infinity focus sits slightly before or beyond that mark, especially in cold conditions. Once focus is correct, use tape to keep the ring from moving. Recheck it after changing lenses or if the camera has been bumped.
If you want a foreground subject such as an Icelandic church, a cabin in Finnish Lapland, or a mountain ridge, focus is more complicated. A very wide lens at f/2.8 may keep a distant foreground and stars acceptably sharp, but not always. Take one frame focused on the sky and another focused closer to the foreground if conditions allow. You can decide later whether a single exposure tells the scene better than a blended image.
Lens, Tripod, and Remote Release Choices
A wide-angle lens makes aurora photography easier because it includes more sky, tolerates longer shutter speeds, and leaves room for a landscape. A focal length around 14 to 24mm on full frame, or 10 to 16mm on most crop-sensor cameras, is an excellent range. Wider is not automatically better. Extremely wide lenses can make the aurora look small and distort trees, buildings, and mountains at the frame edges.
Your tripod matters as much as your camera. Use a sturdy model, spread the legs wide, and avoid extending the center column in wind. Hang nothing from it unless the bag can be secured without swinging. A moving bag can create vibration during a long exposure.
Use a two-second self-timer, wired release, or wireless remote so pressing the shutter does not shake the camera. Turn off image stabilization when the camera is firmly mounted on a tripod unless your camera manufacturer specifically recommends otherwise. Stabilization systems can sometimes introduce movement when they search for motion that is not there.
Phone photographers can still get satisfying results. Use the phone’s night mode or a manual camera app, stabilize it against a rock or compact tripod, and avoid zooming. Start with a 2- to 5-second exposure if manual control is available. The limits are real: small phone sensors may smooth stars, over-brighten the sky, or struggle with fast aurora. But a clean, well-framed phone image is better than missing the moment while searching through menus.
Set White Balance for Natural Aurora Color
Auto white balance can shift from one image to the next, which makes a sequence difficult to edit. Choose a fixed setting instead. Around 3,500K produces a cooler, darker sky and often holds green aurora well. Around 4,000K to 4,500K can make snow and foreground light feel more neutral.
There is no single correct white balance for every location. Sodium streetlights, moonlight, snow cover, and cloud can change the look of a scene. RAW gives you flexibility, but starting with a consistent setting helps you judge the exposure accurately in the field. Avoid making the sky bright blue just because editing software allows it. A slightly darker, believable sky usually makes the aurora look stronger.
Read the Histogram, Not Only the Screen
A camera screen can appear deceptively bright in the dark. Review the histogram as well as the image. You want information spread away from the far left edge without a large spike pressed against the far right, which can indicate blown highlights. A night image does not need a daytime-style exposure. Black areas in the sky and landscape are normal.
If the moon is bright or clouds reflect nearby town lights, lower ISO or shorten the shutter speed. Moonlight can be useful for revealing mountains, ice, and roads, but it reduces contrast in faint aurora. The best settings depend on whether you want the landscape visible or the sky to dominate.
A quick adjustment order
When the photo is too dark, lengthen shutter speed first, then raise ISO if the aurora remains too dim. When it is too bright, lower ISO first, then shorten shutter speed. When the aurora looks soft, shorten shutter speed before changing anything else. This simple order prevents random adjustments and makes it easier to learn what each control changes.
Forecast Conditions Decide Whether Settings Are Enough
Even perfect technique cannot photograph aurora through thick cloud. Before leaving your hotel or turning onto a remote road, check current visibility conditions rather than relying on a single KP number. KP describes global geomagnetic activity, but it does not tell you whether cloud, moonlight, local weather, or the solar wind are working in your favor at your exact viewing time.
AuroraVision brings those moving pieces together in its Live Aurora Score, including solar wind, IMF Bz, cloud cover, moon phase, weather, and the KP Index. Use it to identify the best time tonight, then arrive early enough to set focus, frame the scene, and test your exposure before activity peaks. Smart alerts are especially useful when conditions improve after you have already returned indoors to warm up.
Choose a legal, safe pullout or viewing area with a broad northern horizon where appropriate, but do not ignore the rest of the sky. During stronger activity, the aurora can spread overhead or appear in unexpected directions. Keep headlights and interior lights off when safe, give other photographers space, and never stop on a road just for a frame.
The best aurora image is often made after you have stopped chasing perfection. Set your exposure, look up between frames, and let the display tell you when to shorten the shutter or widen the composition. A camera can record the light, but being ready lets you experience it too.