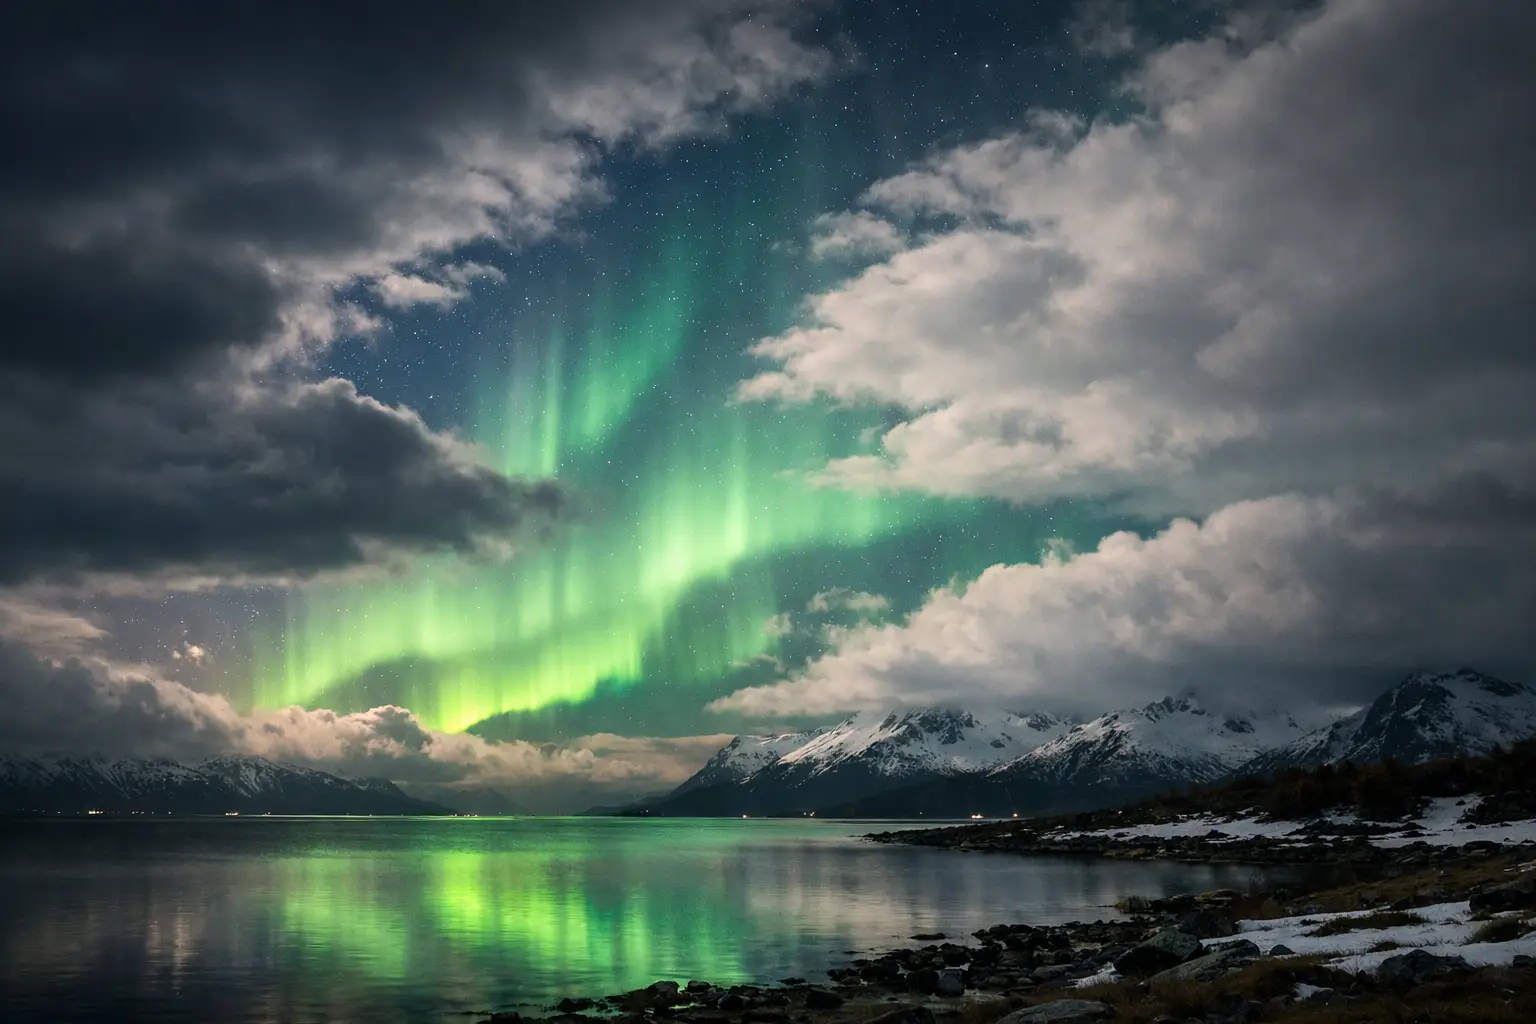
A strong aurora display can be happening directly above you and still be completely invisible. For most travelers, cloud cover for northern lights is the deciding factor between a memorable night outside and a long wait under a gray sky. Solar activity creates the aurora, but clear sky is what lets you see it.
That is why a good aurora plan starts with two separate questions: Is the aurora active? And can I see the sky where I am? Treating those as the same question is the fastest way to miss a display.
Why clouds matter more than many travelers expect
The Northern Lights occur high in Earth’s upper atmosphere, usually far above any weather system. A thin layer of cloud at 3,000 feet can therefore hide an aurora that is glowing 60 miles overhead. Your camera may detect a little brightness through very thin cloud, but the crisp arcs, moving curtains, and color that make the experience special require open sky.
Clouds also change quickly in Arctic and North Atlantic weather. In Iceland, a promising forecast can become overcast along one coast while another region clears within an hour. In northern Norway, coastal clouds may linger while inland valleys offer a clearer view. The right decision is often not to cancel the night, but to move - safely and realistically - toward a break in the cloud.
Aurora strength still matters. A bright, active display can sometimes remain visible through scattered thin clouds, especially to a camera. But no KP level, solar-wind reading, or alert can make a solid blanket of low cloud transparent. Clear skies and moderate activity usually beat heavy cloud and an exceptional space-weather forecast.
How to read cloud cover for northern lights
A cloud forecast percentage is useful, but it is not a simple yes-or-no score. It generally estimates how much of the sky is covered in a forecast area at a specific time. A 70% cloud forecast does not necessarily mean the entire sky is unusable. It may mean broad openings between cloud bands, or it may mean one large cloud deck that leaves only a narrow horizon visible.
Start with the percentage, then look for the pattern and direction of movement. The best opportunities often come when cloud cover is decreasing, fragmented, or moving away from your viewing location. A forecast of 40% cloud can be excellent if the clear portions are overhead during the peak aurora window. A forecast of 20% may still disappoint if the cloud sits exactly where the aurora is most visible or thickens after dark.
Low, middle, and high clouds are not equal
Low clouds are usually the most frustrating. They are thick, close to the ground, and often associated with rain, snow, fog, or poor visibility. They can block the entire sky and make driving less appealing. If the forecast calls for widespread low cloud, do not rely on a faint green glow breaking through.
Middle clouds can vary greatly. Some are thick enough to erase the stars, while thinner layers may leave moonlight or a bright aurora partially visible. High clouds are often the least damaging, particularly when they are thin and wispy. However, high ice clouds can soften the sky, reduce contrast, and turn a promising photo session into a muted one.
The practical test is simple: can you see stars? If many stars are visible overhead, you have a useful chance of seeing the aurora. If only the Moon is visible through a bright haze, the display needs to be stronger. If there are no stars and the sky looks uniformly pale or black, clouds are likely blocking the view.
Look for gaps, not perfect blue-sky maps
Travelers often wait for a map that shows zero cloud cover. That standard is unnecessarily strict, especially in changeable places such as Iceland and the Faroe Islands. A 20-minute opening can be enough for a full aurora experience if solar conditions are favorable.
Watch the forecast in hourly steps. A clearing trend after 10 p.m. can be more valuable than a mostly clear early-evening forecast that turns cloudy at midnight. If the map shows cloud bands moving east, positioning yourself on the western edge of a clear zone may give you more time than waiting where the cloud is arriving.
Use local weather, not just a regional forecast
Forecast grids are models, not guarantees. Their resolution may not capture a mountain ridge, fjord, coastline, lake, or valley that changes local cloud formation. This matters most when you are deciding whether to drive.
Coastal areas can develop low clouds and fog quickly. Mountain passes can be cloudy while nearby open plains are clear. A valley may trap cloud beneath an open sky, meaning a higher safe viewpoint could be better - but only if roads, parking, wind, and visibility allow it. Never chase a clear patch onto an unsafe road or into a place where you cannot park legally and remain warm.
For independent travelers, build a flexible viewing radius before sunset. Identify two or three legal, safe stops in different directions, rather than committing to one famous photo location. In Iceland, that may mean choosing between a south-coast route and a clearer inland area. In Finnish Lapland, a short drive away from town lights may be enough. In remote northern Canada or Alaska, the safer choice may be staying near your accommodation and watching the sky rather than traveling farther in deteriorating conditions.
Guided tours can be valuable when conditions are mixed. Experienced local operators often know where cloud tends to form and which roads remain practical after dark. Still, ask what the tour does if a forecast shifts: some tours can relocate, while others operate within a fixed area.
Pair cloud forecasts with the aurora forecast
Cloud cover answers whether the sky is visible. It does not answer whether the aurora is likely to be active. For that, look at the broader space-weather picture: solar wind, the orientation of the interplanetary magnetic field known as IMF Bz, geomagnetic activity, and the expected timing of any changes.
The KP Index is one useful indicator, but it is a broad, delayed measure and should not be treated as a local visibility forecast. A modest KP night with strong solar wind and a favorable southward Bz can produce an excellent display in the right location. Likewise, a high KP estimate is irrelevant if thick clouds are overhead.
AuroraVision brings those decisions into one live view by combining its Live Aurora Score with solar wind, IMF Bz, cloud cover, moon phase, weather, and timing. Use the free app before heading out, then check it again if clouds begin to move or alerts indicate improving activity. The goal is not to predict the exact shape of the aurora. It is to make the best decision with the conditions available now.
A practical plan for a cloudy aurora night
Begin checking conditions while there is still daylight. Confirm the overnight weather trend, road conditions, and the direction of clearer skies. Once darkness falls, give yourself enough time to respond. A cloud gap may arrive and disappear faster than you expect.
If your location has broken cloud, go outside rather than waiting for a perfect forecast. Let your eyes adjust for at least 15 minutes, face away from artificial lights, and scan the whole sky. The aurora can begin as a faint gray-green band that is easy to mistake for cloud. A camera set on a tripod can help confirm it, but do not spend the entire opening adjusting settings while the sky is active.
When cloud is widespread, avoid constant long-distance driving based on tiny map changes. Check whether a large clear zone is actually reachable before it closes, and factor in wind, ice, fuel, daylight limitations, and fatigue. On some nights, the smartest move is to rest and preserve your flexibility for the next clear window.
Moonlight changes the trade-off
A bright Moon does not block the aurora, but it reduces contrast, especially for weaker displays. With clear skies and a bright Moon, you may need stronger activity to see subtle green or red structure with the naked eye. With clouds present, moonlight can make the sky look brighter and make it harder to tell whether you are seeing thin cloud or aurora.
That does not make a moonlit night a bad night. Bright aurora can look spectacular above a snow-covered landscape, and photographers may welcome the foreground light. Just set realistic expectations: cloud-free, dark conditions give faint aurora the best chance to stand out.
What to do when the forecast is wrong
Every aurora traveler eventually sees a forecast miss the timing or location of a clearing. Do not assume the night is over because the first hour was cloudy. Check the sky periodically, especially after a front passes, wind changes direction, or precipitation stops. Stars appearing in one part of the sky are a useful sign that conditions may be improving.
Equally, do not assume a clear start will last. If a major display begins, enjoy it now. Take a few photos, then lower the camera and watch. The best moment is often the one you can see through the opening already above you.